Waterproofing a wall below ground level is a critical process for preventing moisture damage and ensuring the structural integrity of your property.
Whether you are dealing with a basement, underground garage, or retaining walls, taking the proper steps to waterproof the below-grade surfaces can save you significant costs in the future.
In this detailed guide, we will walk you through everything you need to know to effectively waterproof a wall below ground level, using the best practices and most efficient techniques.
Importance of Waterproofing Below Ground Walls
Waterproofing is essential for preventing water penetration that can cause significant damage to your foundation, structure, and indoor air quality.
Below-ground walls are particularly vulnerable to moisture intrusion because they are in constant contact with soil, which can retain water and exert hydrostatic pressure on the surface.
When water seeps into the walls, it can lead to issues such as mold growth, mildew, peeling paint, cracks, and even structural weakening over time.
Check Also: Should I Buy a House with Bowing Basement Walls?
Key Problems Caused by Unprotected Below-Ground Walls
Unprotected below-ground walls, such as basement or foundation walls, are vulnerable to a range of environmental and structural issues. These problems not only compromise the integrity of the building but also lead to costly repairs and maintenance. Below are the key problems associated with unprotected below-ground walls:
Water Infiltration
Unprotected walls are highly susceptible to water intrusion due to hydrostatic pressure and groundwater seepage. Over time, water infiltration can lead to:
- Mold and Mildew Growth: Persistent moisture creates an ideal environment for mold and mildew, which can affect indoor air quality and pose health risks.
- Structural Weakening: Continuous exposure to water can erode concrete, mortar, and other materials, compromising the wall’s strength.
Freeze-Thaw Damage
In regions with fluctuating temperatures, water that infiltrates below-ground walls can freeze and expand, causing cracks and fractures. This cyclical freeze-thaw process accelerates wall degradation and increases maintenance requirements.
Soil Pressure and Settlement Issues
Unprotected walls often lack proper drainage systems, which can lead to excessive soil pressure. When wet soil expands, it exerts force on the walls, potentially causing:
- Cracking and Bowing: Increased lateral pressure may result in visible cracks or inward bowing of the walls.
- Foundation Settlement: Poor drainage can lead to uneven soil settlement, affecting the stability of the entire structure.
Efflorescence
Efflorescence occurs when water carrying soluble salts migrates through the wall and evaporates, leaving behind a white, powdery residue. This not only affects the wall’s appearance but also indicates ongoing water intrusion.
Energy Loss
Unprotected below-ground walls often lack proper insulation, leading to significant energy loss. This results in:
- Higher Energy Bills: Increased heating and cooling costs due to poor thermal performance.
- Uncomfortable Indoor Environments: Cold and damp walls can make living spaces less comfortable, especially in basements.
Pest Infestations
Cracks and gaps in unprotected walls can serve as entry points for pests, such as insects and rodents. These infestations can further damage the structure and create hygiene issues.
Step-by-Step Instructions to Waterproofing a Wall Below Ground Level
Waterproofing below-ground walls requires a combination of techniques to address both moisture prevention and pressure management. Below are the key steps to ensure a robust and long-lasting waterproofing solution.
Assess the Condition of the Wall
Before beginning any waterproofing work, you must evaluate the condition of the wall. Look for signs of existing moisture damage such as damp patches, mold, or cracks.
If the wall has severe damage, consider consulting a professional to assess whether any repairs are needed before waterproofing.
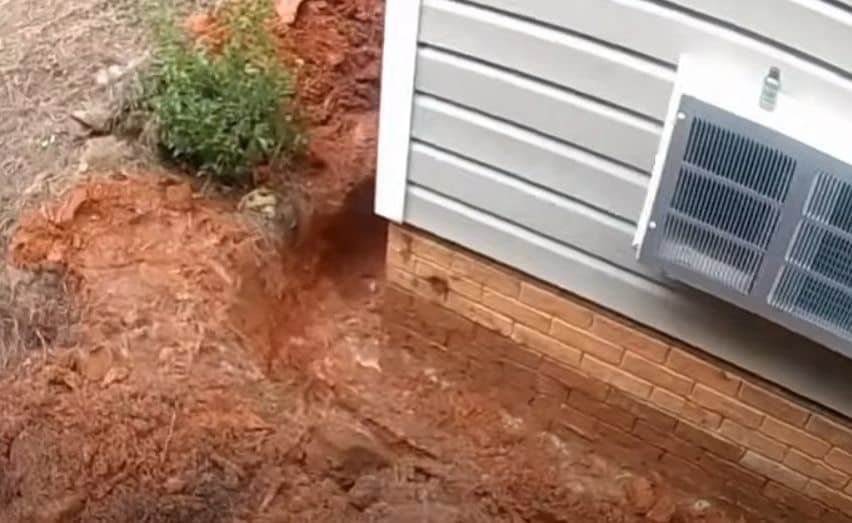
Clear the Area Around the Wall
Waterproofing efforts will be most effective when the surface area is fully exposed. This means clearing any dirt, debris, plants, or other obstructions around the wall.
Ensure that the area is dry and free of excess moisture before starting the waterproofing process.
Repair Any Cracks and Holes
Inspect the wall for visible cracks, holes, or joints where water could potentially seep through. Use a high-quality concrete filler or hydraulic cement to patch these openings.
These materials expand as they cure, filling gaps and preventing water infiltration. Allow the repairs to fully set before continuing.
Apply a Waterproofing Membrane
A waterproofing membrane is one of the most effective ways to prevent water from penetrating the wall. Membranes can be applied as liquid coatings or in sheet form, depending on your preferences and the extent of the project.
Liquid Membranes
Liquid-applied membranes are often used because they are easy to apply and form a seamless barrier. These membranes typically consist of polymers and waterproofing agents that are rolled or brushed onto the wall. Once the coating dries, it creates a flexible and durable water-resistant layer.
How to Apply: Use a roller or brush to apply the liquid membrane to the surface of the wall, starting from the bottom and working upwards. Make sure to cover the entire surface, paying special attention to the seams and corners.
Sheet Membranes
Sheet membranes are pre-formed, waterproof materials that are applied to the wall’s surface. These membranes are typically made from bitumen, rubber, or other waterproof materials and are often used in commercial applications.
How to Apply: Start by applying a bonding adhesive to the wall. Then, roll out the membrane and attach it firmly to the wall, smoothing out any wrinkles or air bubbles. Use a roller to ensure a tight bond and apply more adhesive along the seams for extra protection.
Install a Drainage System
To enhance the waterproofing system, it’s crucial to install a drainage system around the foundation. A well-designed drainage system will direct any water away from the wall, reducing hydrostatic pressure and preventing water buildup. There are several options to choose from:
French Drain
A French drain is one of the most common solutions for managing water around the foundation. It involves digging a trench along the perimeter of the wall, placing a perforated pipe inside, and covering it with gravel. The pipe collects water and redirects it to a safe location, such as a storm drain or a dry well.
Weeping Tile
Weeping tile is another effective drainage solution that can be installed alongside the waterproofing membrane. The system involves placing a perforated pipe (or “tile”) at the base of the foundation to collect and divert water.
Add Insulation and Protection
After applying the membrane and installing the drainage system, it’s time to add an insulation layer to protect the membrane and improve energy efficiency.
Rigid foam board insulation is commonly used for this purpose as it provides a thermal barrier while also shielding the membrane from damage due to soil pressure.
Backfill the Excavated Area
Once all waterproofing materials are in place, backfill the excavation site with clean gravel or soil. It’s essential to avoid compacting the soil directly against the waterproofed wall, as this could damage the membrane.
Use gravel as a cushion to ensure proper drainage and avoid direct contact between soil and the waterproofing layers.
See Also: What is the Alternative to a French Drain in the Basement?
Waterproofing Below Ground Walls: Cost Overview
The cost of waterproofing below-ground walls varies based on several factors, including the size of the area, the chosen method, and regional labor costs.
Wall size and accessibility significantly affect the cost, as larger walls require more materials and labor, and difficult-to-access areas may increase expenses.
The waterproofing method also influences the price: liquid membranes typically cost $3 to $6 per square foot, sheet membranes range from $5 to $10 per square foot, and interior sealants are generally less expensive at $1 to $3 per square foot.
Additionally, installing drainage systems, such as drain tiles and sump pumps, can add $1,500 to $5,000 or more, depending on complexity. Repairs and preparation, including fixing cracks, may cost between $500 and $2,000, while challenging soil conditions, such as heavy clay or high water tables, can further increase costs.
For smaller projects or basic interior waterproofing, DIY costs can range from $200 to $1,000. Professional waterproofing services typically range from $5,000 to $15,000, while comprehensive systems that include advanced measures like sump pumps and exterior membranes can cost $10,000 to $30,000, depending on the size and scope.
Conclusion
Waterproofing a wall below ground level is an essential task that protects your home from water damage and preserves its structural integrity.
By carefully following the steps outlined above, you can prevent moisture infiltration and enjoy a dry, secure space. If you are unsure about tackling this project on your own, consulting a professional waterproofing contractor can provide additional peace of mind.